I am not a total idiot, and I know that I will have to make some compromises on the anatomical accuracy. For example, I am not going to make a hyoid bone. (Look it up.) Or a crapload of tarsals and carpals. No one would recognize them in dough form anyway... :-) But I can do better than the leg bone is connected to the other leg bone. The skeleton at least deserves to have a tibia and a fibula and a femur separated by a patella, right?
To make the skeleton somewhat proportional, Hubby and I looked up some art charts to see what the ratios are between body parts. We found that 8 heads is about right for height, and the shoulders are about 3 head heights across (although not anatomically correct, the 8 head height looks better to the human eye, so we ran with that. In reality its more like 6.5-7 heads, or so I read). We wanted to fit the skeleton on 2 large cookie sheets that were 16" long each, so we used 4" as our "head height" and then used that as the basis for everything else. I drew up a quick sketch of what the bones should look like so I had something to follow, and went to town on the pretzel dough!


 |
| my foot looks lame, but I ran out of room and can't really draw worth a darn... |
2 1/4 t yeast (one packet/envelope)
1 1/2 c water at about 110 degrees
1 t salt
1T sugar
4c flour
1 egg
coarse salt
extra flour for kneading and dusting
Combine yeast, water, salt, and sugar in a small bowl or measuring cup. Allow the yeast to activate (bubbles should form). Add yeast mixture to flour and knead. Add flour until dough is not sticky, but still is a little tacky. Knead until dough is silky. Put dough in a bowl or leave on counter, cover it with plastic wrap or a kitchen towel, and allow it to rest for 10-15 minutes. If you do not let the dough rest, it will be harder to roll out and will spring back on itself a LOT, so don't skip this step unless you want to fight with your shapes. It will puff up a little from the yeast, but knead it a little and it will deflate again.
 |
| Kneading dough is therapeutic! |


Some of the bones, like the femur and humerus, I left very thick and created knobby "dog bone" ends by splitting the ends with a knife about 1 cm in and shaping each bit into a knobby ball. The other bones I made of varying thicknesses as was appropriate and shaped them as needed. Tip: use a butter knife to cut off the tapered ends after you roll the dough into ropes to keep more uniform thickness to your pieces.
For the solid bones of the hip and skull, I rolled the dough out with a rolling pin and cut out the shape with a butter knife. Once it was on the cookie sheet I smoothed the shapes a little with my hands.
 |
| I traced one hip bone to make the other so they looked kind of symmetrical. |
 |
For the patella, the "carpals" and "tarsals" I pulled a piece of dough out, rolled it in my hands, and flattened it into an appropriately shaped disc.
|
 |
| most of the upper skeleton and the hips |
 |
| hands! |
 |
| feet... only marginally better than my drawing... if even that. |
 |
| Much puffier now than before baking. But much more beautifully golden! |
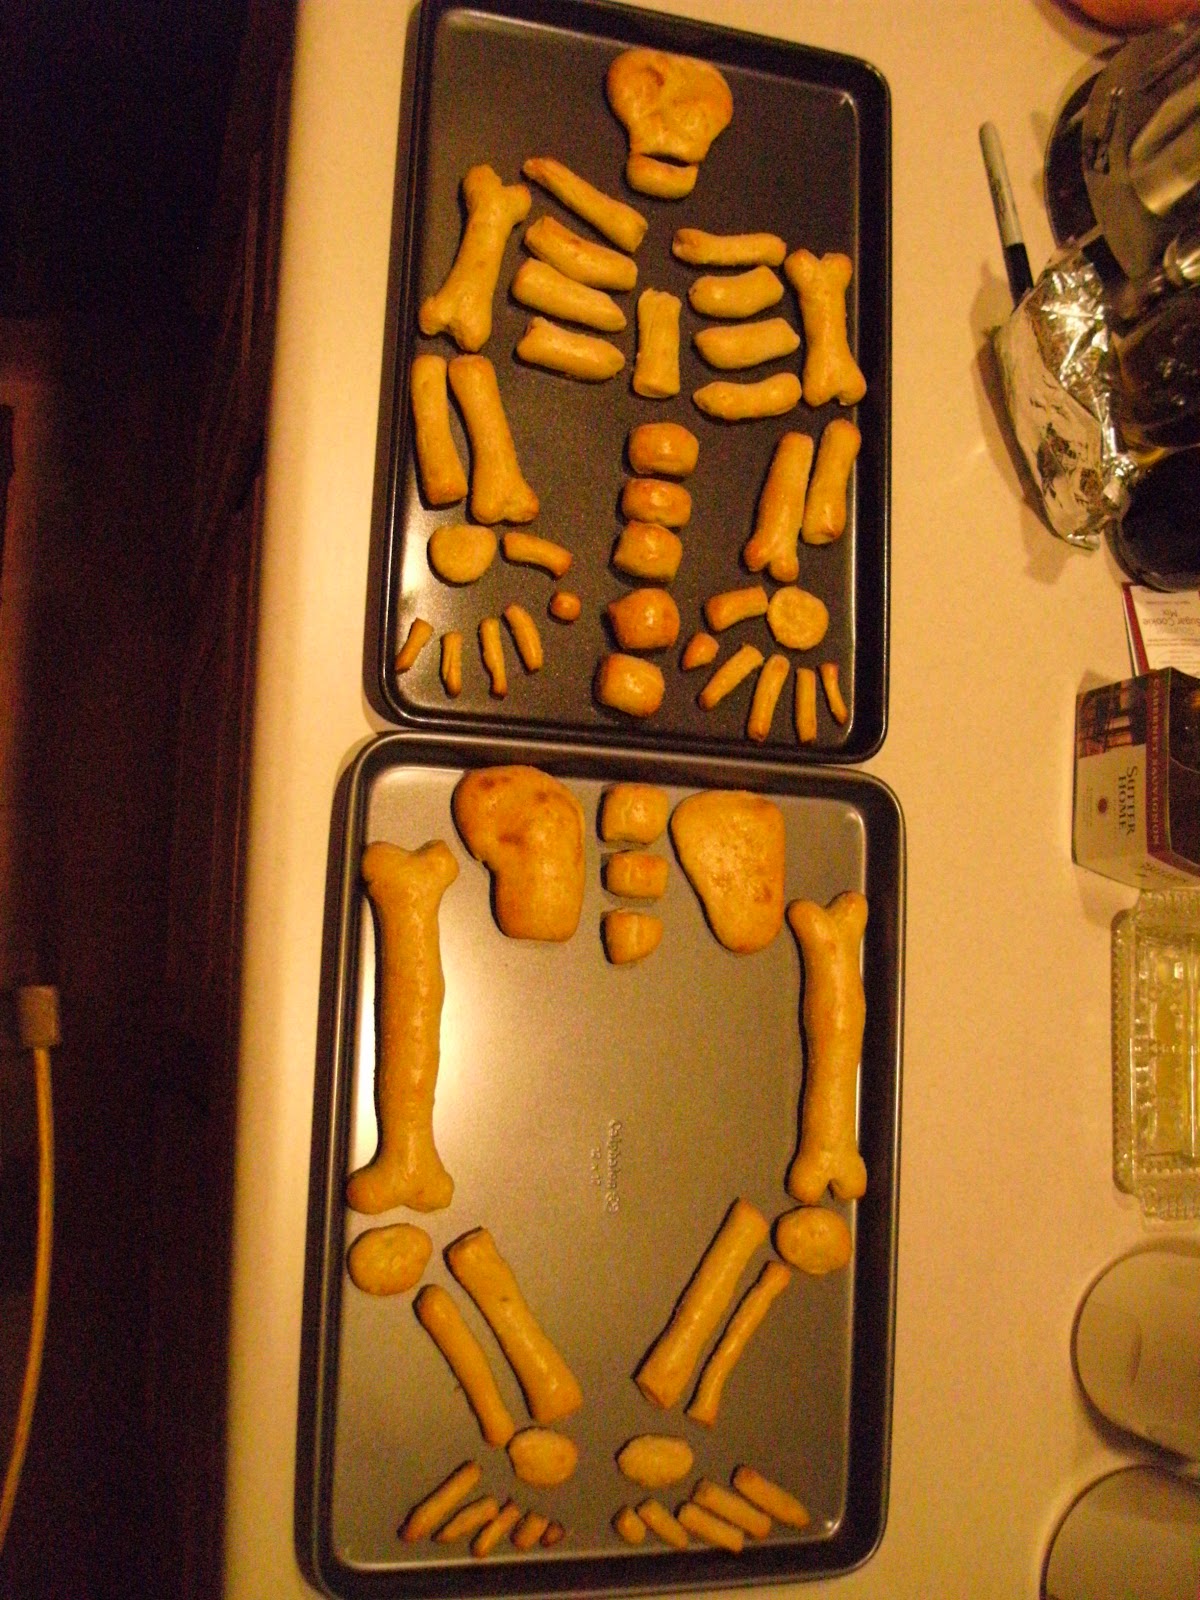 |
| Originally I wanted the hips on the top sheet, but the hands took up too much space so I added some vertebrae and moved it to the bottom. The feet STILL look lame. Oh well. I tried. |
Of course, you could just make pretzels and forget the whole skeleton thing... They still taste just as good!
No comments:
Post a Comment