While pregnant, I decided that I wanted to do cloth diapering. Its a great thing really, for many reasons, but most notably for the kindness to the environment and the kindness to your wallet. I looked online for a suitable diaper pail that was compatible with cloth diapering. I found the Diaper Dekor Plus and so far, so good (note: I actually would opt for the largest pail they offer, the XL rather than the Plus. Cloth diapers are so much bulkier than disposables and the bag fills up pretty quickly). One of the huge perks of the Diaper Dekor was that the design allowed you to use a reusable diaper pail liner rather than buying their plastic refills all the time, thus saving even more money and more landfill space (not to mention petroleum!).
 |
| The diaper dekor in all its glory |
 |
| A unique design allows for a drop in reusable liner |
 Diaper Pail Liner
Materials:
one yard of 60" wide Risptop Nylon (or PUL)
approximately 45" of cord to tie up the bag (or a round shoelace)
thread
scissors
tape measure
sewing machine
Step 1: Cut the yard or fabric in half (along the fold line from the bolt works well as long as you make sure it is centered first). Also, be sure to check that the fabric really is 60" wide. :-) You will now have 2 pieces of fabric that measure approximately 30"x36". Trim the length to about 32".
Step 2: Along the short (30") side, fold over about 1/2" and stitch. You don't have to worry about Ripstop fraying and raveling, but I wanted to fold over the raw edge anyway, just for aesthetics. This will be the top of the bag.


Step 3: Fold the fabric in half, matching the selvage edge and the cut edge you made along the bolt fold. Measure 4 " down from the finished edge and put in a pin. Below the pin, stitch the sides of the bag together with about 1/2" of seam allowance.


Step 6: Stitch up the bottom edge of the bag, with about a 3/4" seam allowance. You can end here and have a perfectly functional bag if the following instructions are too complicated. However, I would recommend trimming the length of the bag by about 2".
 |
| From the bottom - fold seam to seam. |
 |
| Another angle to help you visualize :-) |
Step 8: Once you have made your triangle shapes, make sure the sides of the bag are pulled taut to create crisp triangles. One side at a time, hold the bag with the point of the triangle facing away from you, and the bottom seam up. Measure 3 inches down from the point of the triangle and pin. Pin across the width of the fabric triangle and stitch. Repeat on both sides. Congrats! You have given your bag a nice flat bottom and about 6" of width!


Step 9: Thread the shoelace or cord through the casing at the top. I wanted to have one of those ball thingies that you slide to close bags like this, but I didn't have one. I totally thought I cannibalized one from something, but no dice. Sigh. And I can't seem to figure out what they are called to buy one. Look out knots, here I come.
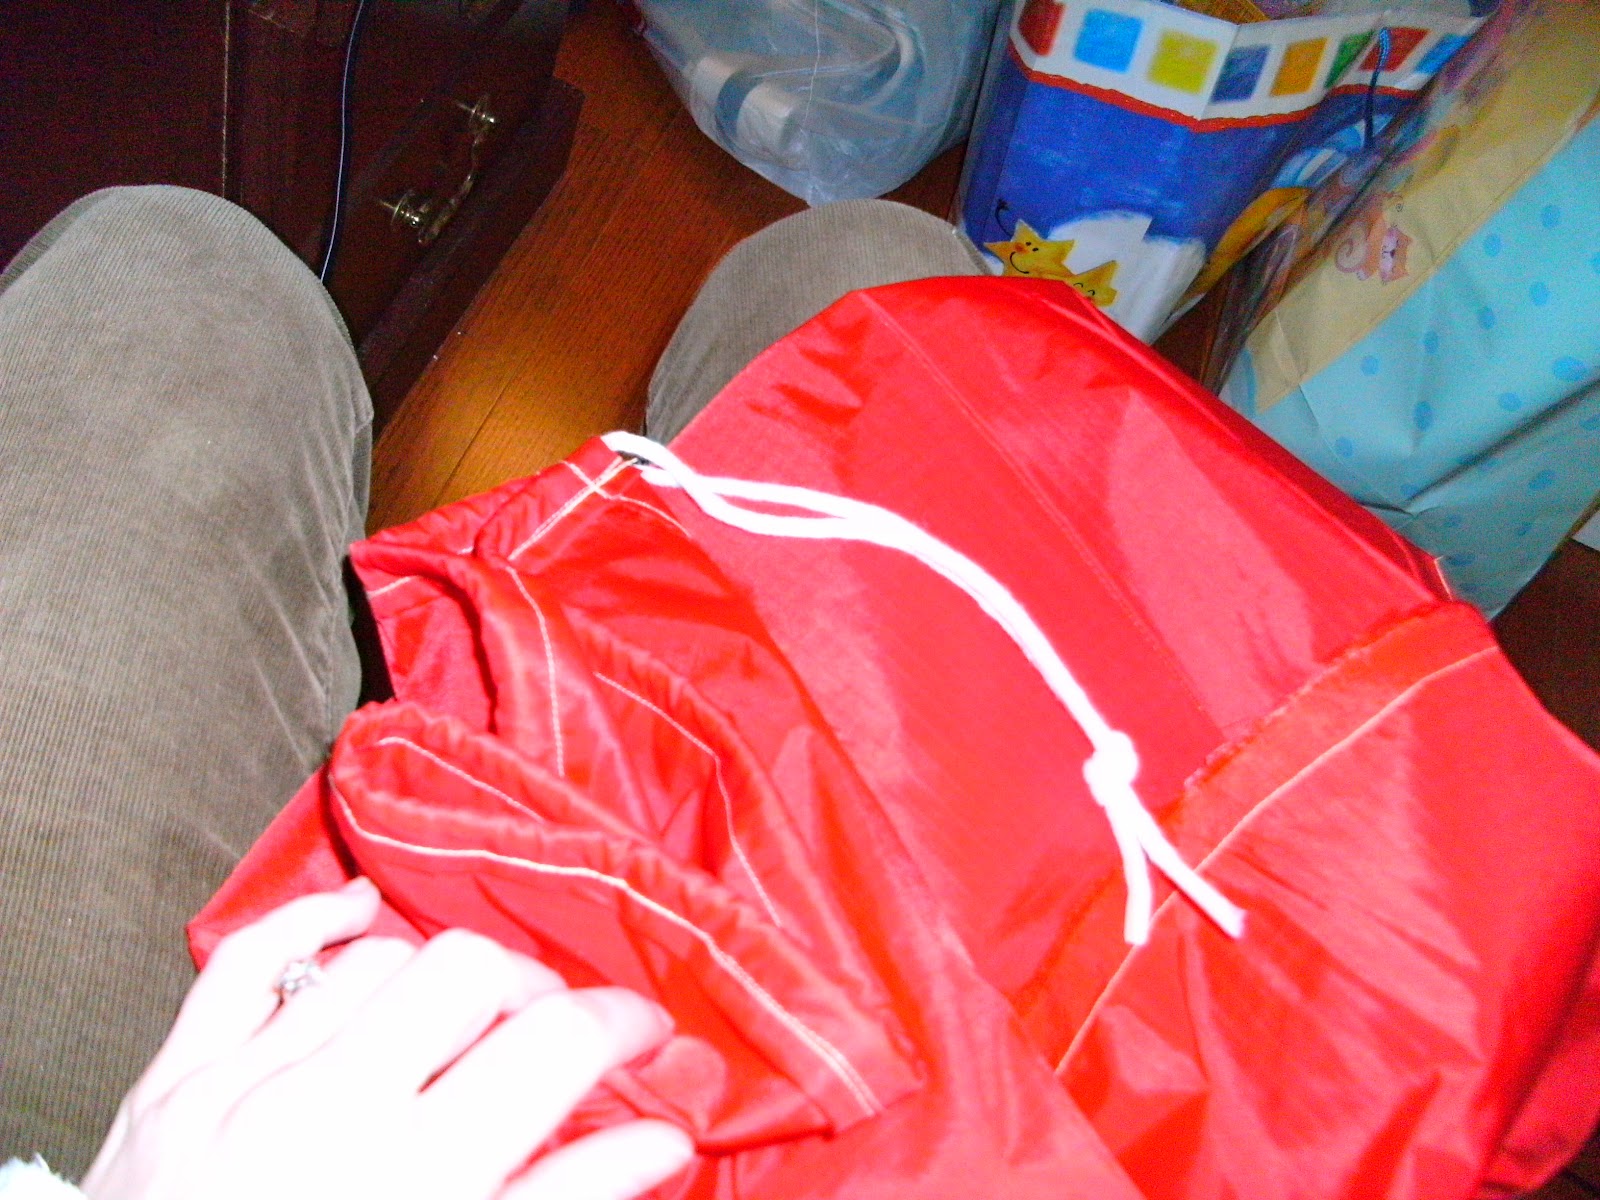

Step 10: To put it in the diaper dekor, open the top and drop the bottom of the bag in the middle. Roll the top of the bag over the edge and slide it down into that slot. Tighten up the drawstring and voila! You have yourself a reusable, washable diaper pail liner!

Another big bonus to this is that you can empty your diapers into the wash without touching them and just toss the bag in after. I used red because I thought it would be fun. Hopefully its colorfast since its Nylon or we will have a lot of pink diapers for my little boy. :-) Make 2 so you have one to use and one to wash.
Bottom Line:
1 yard of Ripstop (good for 2 liners) - $6 (on sale for 25% off at Joann's)
45" of cord - about $1.50? I had it in my stash so I'm not totally sure... :-)
Total cost = $4.50 per bag ($3 in fabric and $1.50 in cord)
Time = ~1.5 hours, probably less if you aren't stopping to feed a baby and take pictures every so often :-)
Retail cost:=$15 for a 2 pack of disposable liner refills which last for ~366 changes (I averaged their advertised capacity on their website over the 6 diaper sizes they listed, note that this is for disposables, though), $16-20 for a reusable liner
Total savings: $10-15 for a reusable liner, or ~$325 over the life of the bag for disposable liners, using their number of 4500 changes for a baby and the average of 366 changes per set of refills. And that's only if you have one kid! Holy cow!!!
I promise I will post more frequently. My baby has been my #1 priority though, so blogging kinda is taking a back seat. Hopefully I will get more mommy time as he gets older and that will mean more blog time!